

Hi, Have you ever wondered about How to make a Rubik’s cube in illustrator? Here is a quick and easy tutorial to create an isometric Rubik’s cube in Adobe Illustrator.
Follow these steps:
Start by creating a new document of the desired size. here we have an artboard of size 960px * 560px width & height respectively. colour mode set to RGB at 72ppi resolution.
Create a square of 340px using the Rectangle tool with a black fill colour and no stroke.
Give the black square a round corners of about 5px (Effect > Stylize > Round Corners )
Make another square of 100px and fill it with red colour
Give the red square, round corners of about 5px (Effect > Stylize > Round Corners )
Now go to effect > distort & transformation > Transform effect
Set the horizontal move to 110px, and set the number of copies to 2.
Repeat the same process with a 110px vertical move and make 2 copies.
Now Expand the Object (Object > Expand appearance)
Select both and make it horizontal and vertical aligned.
Turn on the Smart guides ( Ctrl+ U)
Use the pen tool to make a triangle on two edges
Select the big rectangle and minus front all the triangles (Window > Pathfinder)
And send it backwards. ( Ctrl + [ )
Select both and make it a group.
Reflect to make right part (Right Click > Transform > Reflect > Vertical)
To make the top Part (Right Click > Transform > Reflect > horizontal).
Ungroup rectangle to change the colour of inner ones.
Now To make it Isometric, We will follow the SSR technique(Scale, Shear, Rotate)
Select the left part and double click on the scale tool.
Make it non-uniform. Set the vertical value to 86.602% and click ok.
With the left part still selected, select the Shear tool. Double click on the shear tool and Change the Shear angle to -30degree.
Now select the rotate tool. Double click on the Rotate tool and Change the Shear angle to -30degree.
Now for the top part,
Select the middle part and double click on the scale tool.
Make it non-uniform. Set the vertical value to 86.602% and click ok.
With the left part still selected, select the Shear tool. Double click on the shear tool and Change the Shear angle to +30degree.
Now select the rotate tool. Double click on the Rotate tool and Change the Shear angle to -30degree.
Now for the RIGHT part,
Select the middle part and double click on the scale tool.
Make it non-uniform. Set the vertical value to 86.602% and click ok.
With the left part still selected, select the Shear tool. Double click on the shear tool and Change the Shear angle to +30degree.
Now select the rotate tool. Double click on the Rotate tool and Change the Shear angle to +30degree.
Now use the selection tools to move around each part and form a cube.
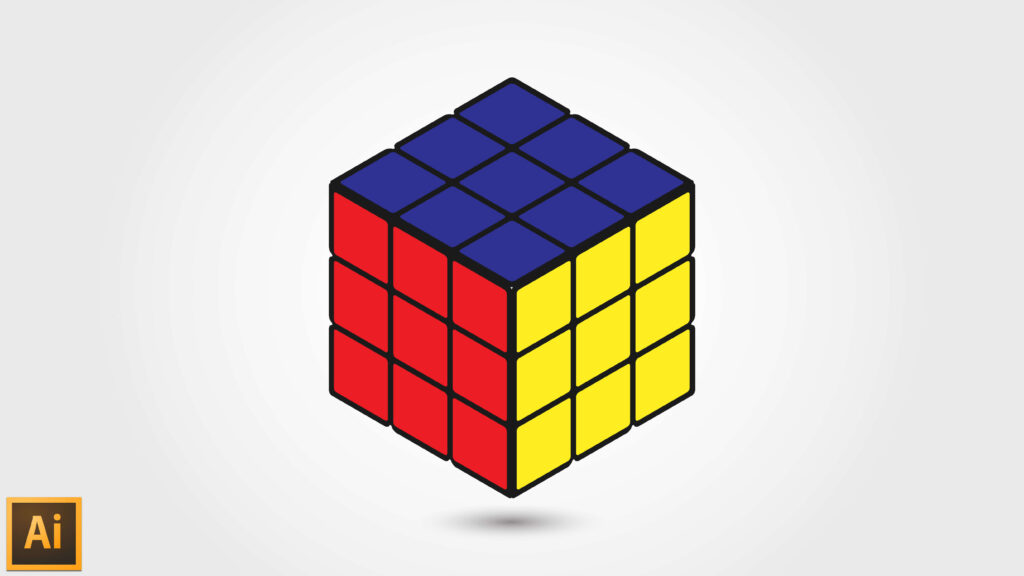
So There is our isometric Rubik’s cube in Adobe illustrator.
The Final result looks like this:
Check out the YouTube video tutorial here: https://bit.ly/3kAal6H