

In this blog post, let’s make flowers in adobe illustrator. Follow these quick & easy steps to draw vector flowers using the ellipse and rotate tools. make your own Flower in Adobe Illustrator.
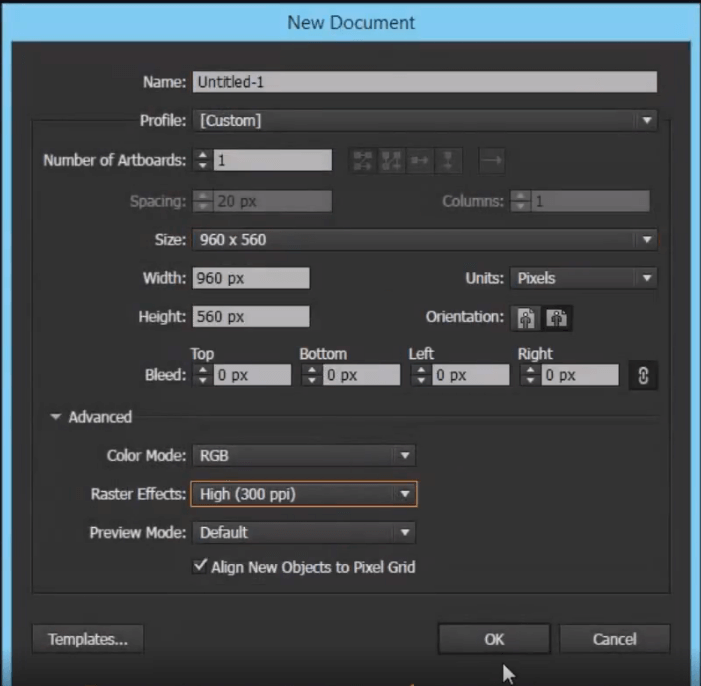
Step 1: Start by creating a new document of the desired dimension. Here we have the Width x height as 960px x 560px, Color mode set to RGB, and Raster effects of 300ppi.
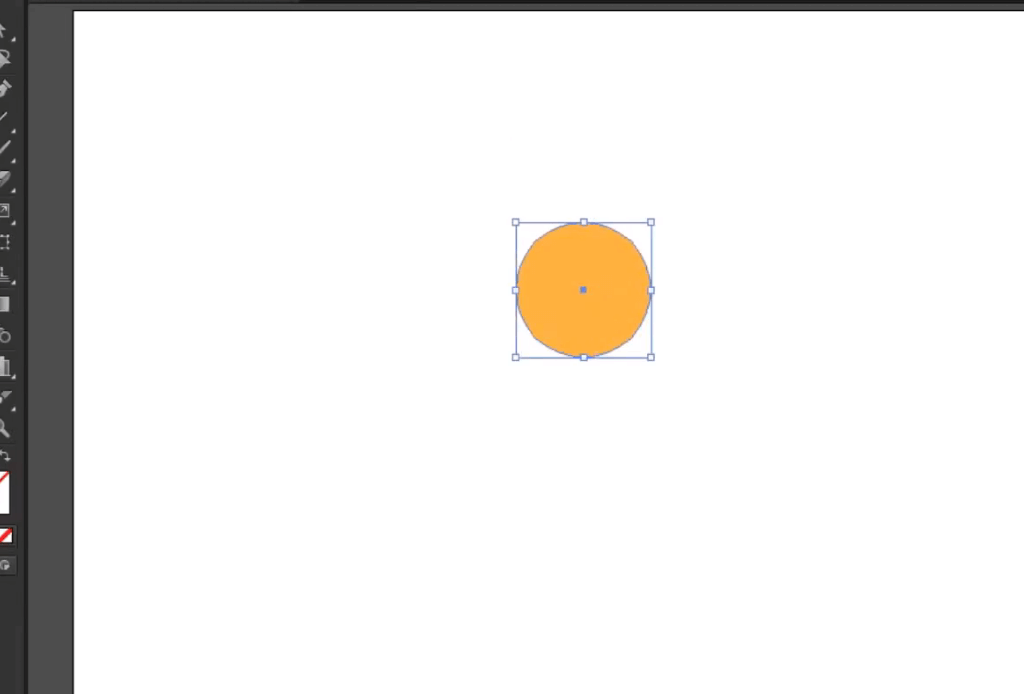
Step 2: Create a circle using the ellipse tool, set the stroke to none and give it a fill colour.
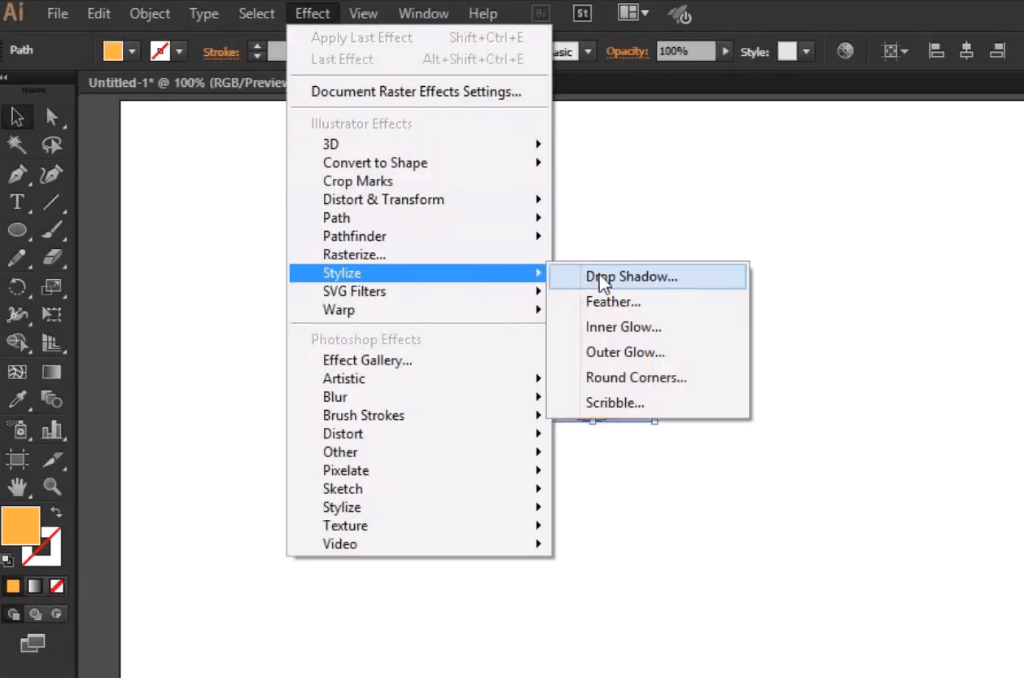
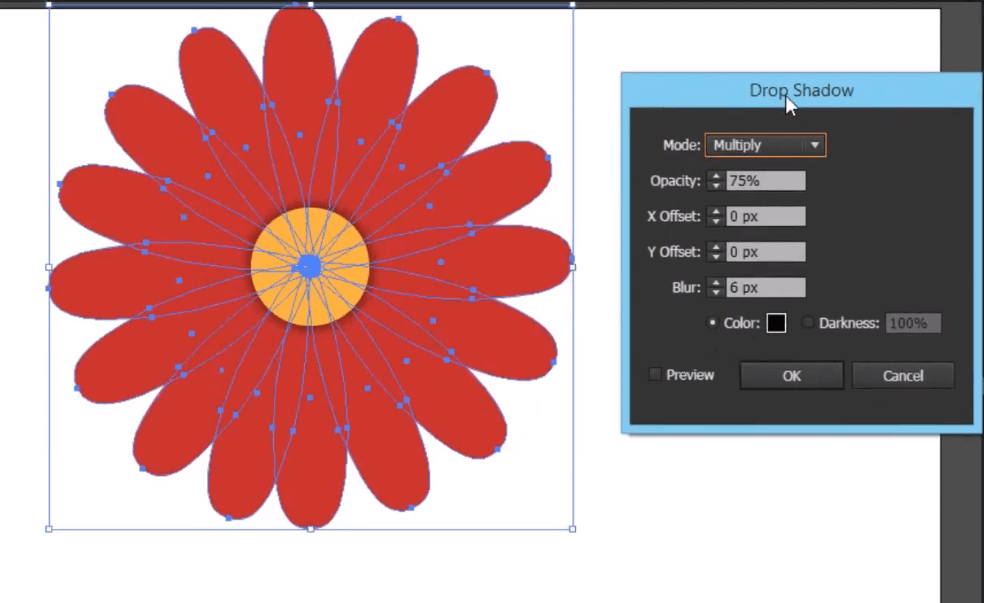
Step 3: Add a drop shadow ( Effect > Stylize > Drop Shadow)
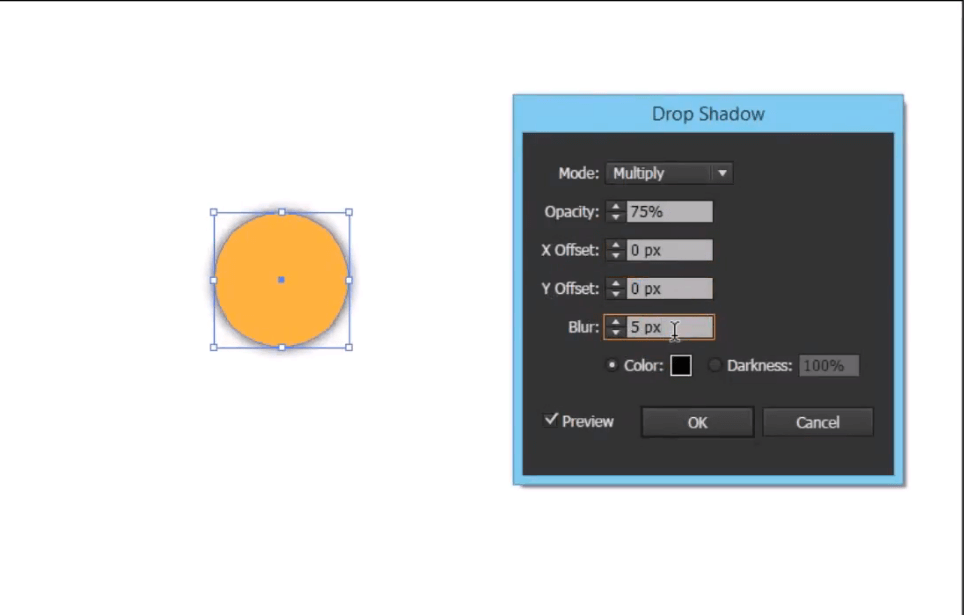
Step 4:Set both the X offset & Y offset to 0px and the blur around 5px
Now let’s create the Petals
Step 5: Use the ellipse tool and create an Ellipse.

Step 6:Using the direct selection tool(A), select the top anchor point and click to convert the selected anchor points to the corner option.

Step 7: Use the Direct Selection tool, select middle anchor points and move them down using the down arrow key.
Adjust the object to look like a petal
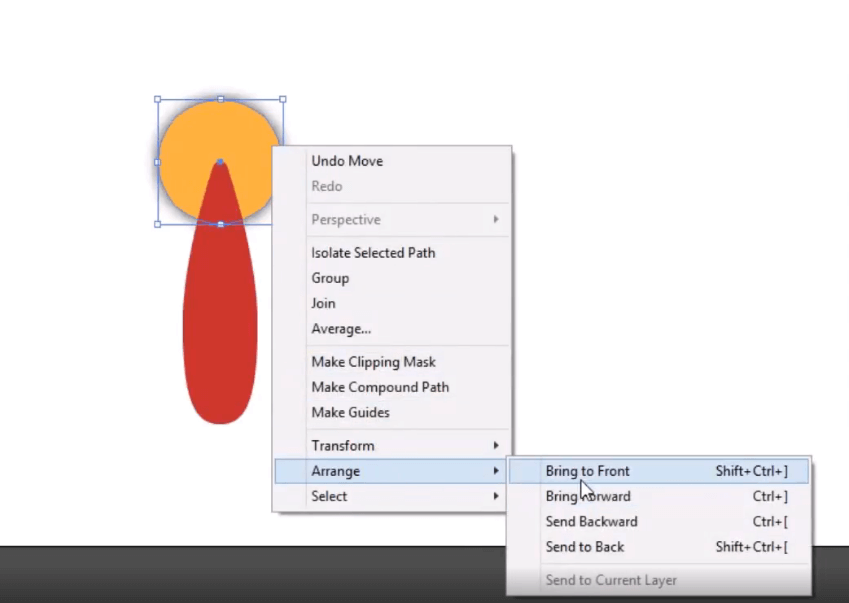
Step 8: Now Align them both together. Arrange the circle in front of the petal (Right click> Transform> Arrange >Bring to front (shift+Ctrl+]))
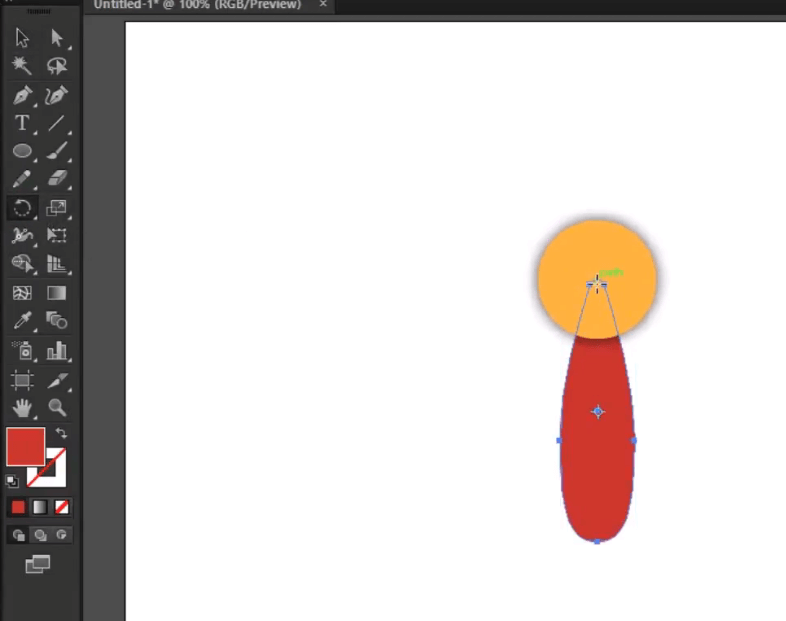
Step 9: Now with the petal selected, click on the Rotate tool from the menu. Hold alt and click on the center of the circle to set the point of the rotation.
Step 9: With the petal still selected, hold alt and drag to make a copy of the petal(It will follow a circular path as the rotate tool is selected )
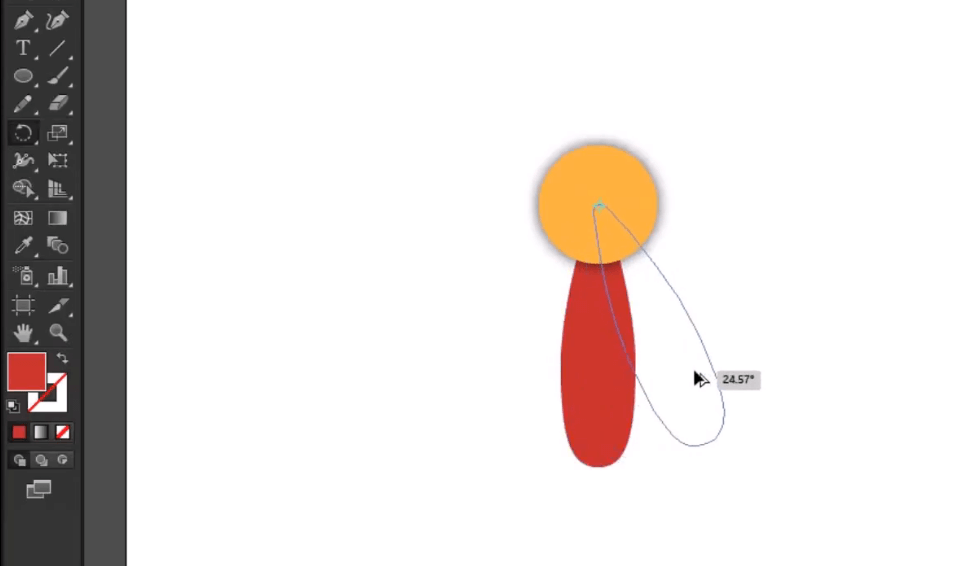
Step 10: Use Ctrl+D to repeat the process

Step 11: Select all petals and add the same drop shadow as for the center
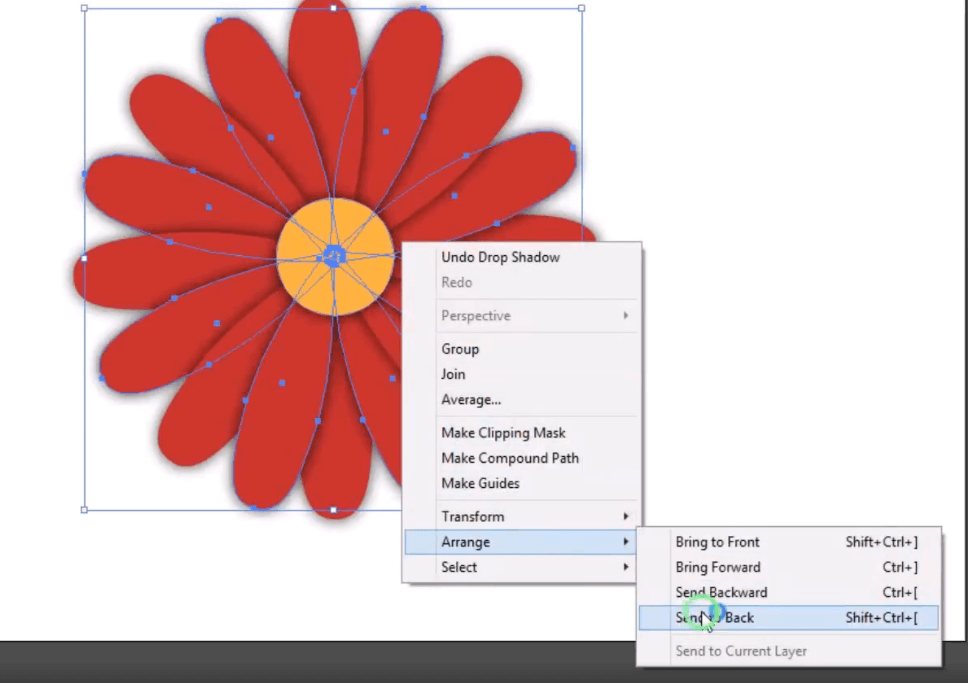
Step 12: Select alternating petals and send them backwards (Ctr+[)
There’s our simple and easy flower in Illustrator
The Final result looks like this:

Check out the YouTube video tutorial here: http://bit.ly/flowerai