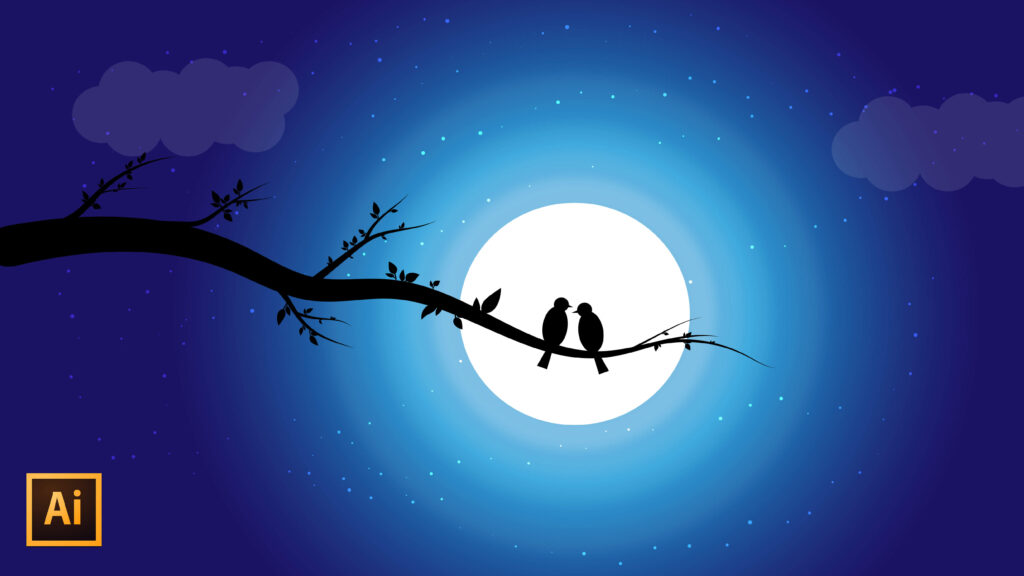
Hi, let’s create a night sky vector illustration using the silhouette effect in Adobe Illustrator. In this night sky vector illustration, we create a beautiful silhouette of a pair of lovebirds in the moonlight.
Step 1: Let’s start by creating a new document. Set the artboard to size 960px * 560px width & height respectively. Set the colour mode to RGB at 72ppi resolution.
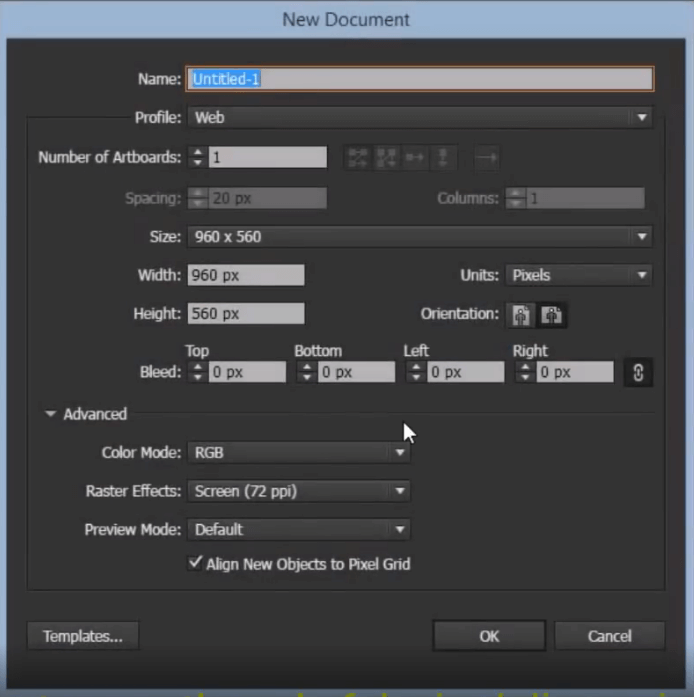
Step 2: Creating the tree and the birds.
From the toolbar, select the polygon tool. Click on the artboard. In the dialogue box, set the radius to 50px and the sides to 3 (For a triangle).
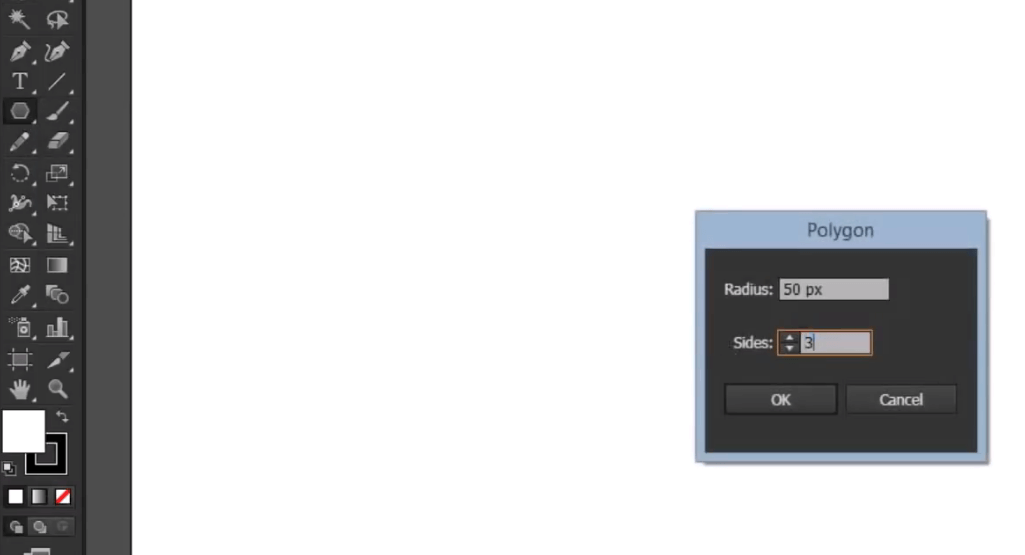
Step 3: Fill it with black and extrude its vertex to make it long and round the corners by clicking and dragging on the small circles near the edges.
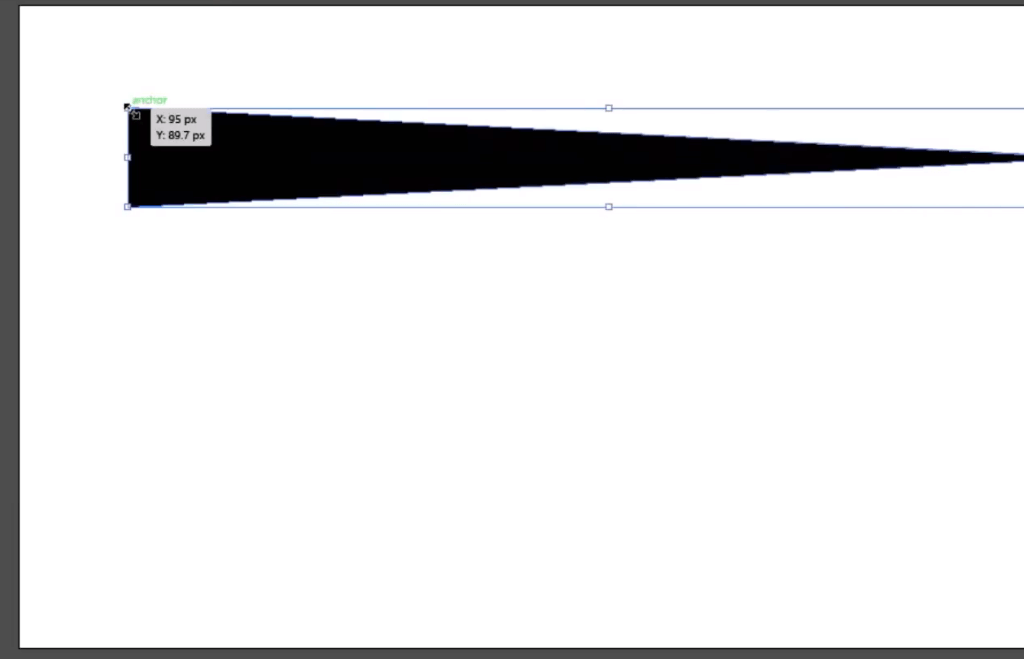
Step 4: Let us now add this as a new art brush. Open the brush panel from the windows or use the shortcut (F5). Just click on the triangle and click on the new brush icon at the bottom of the brush panel. In the dialogue box, select art brush and click OK.
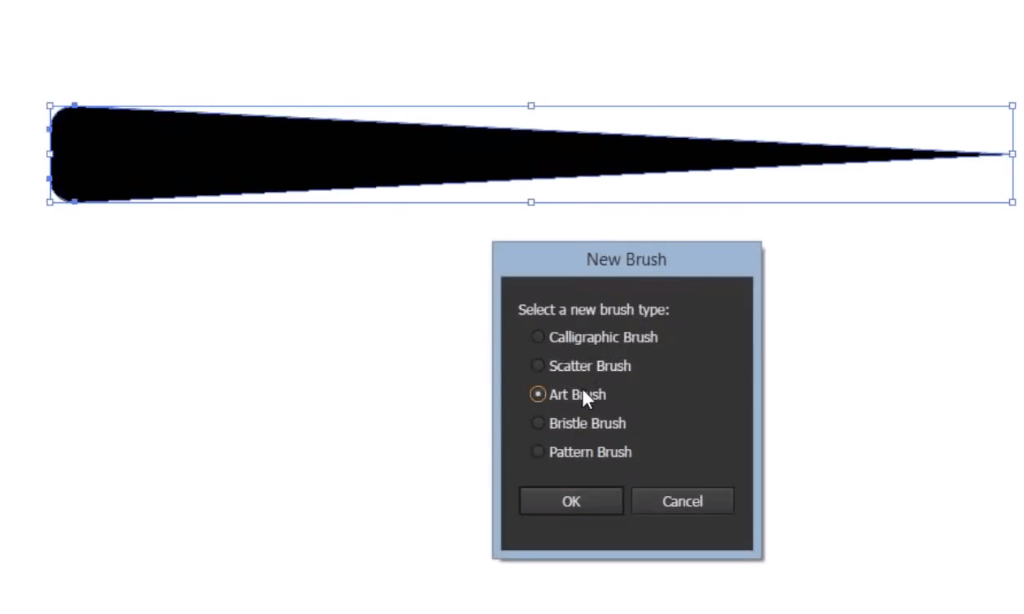
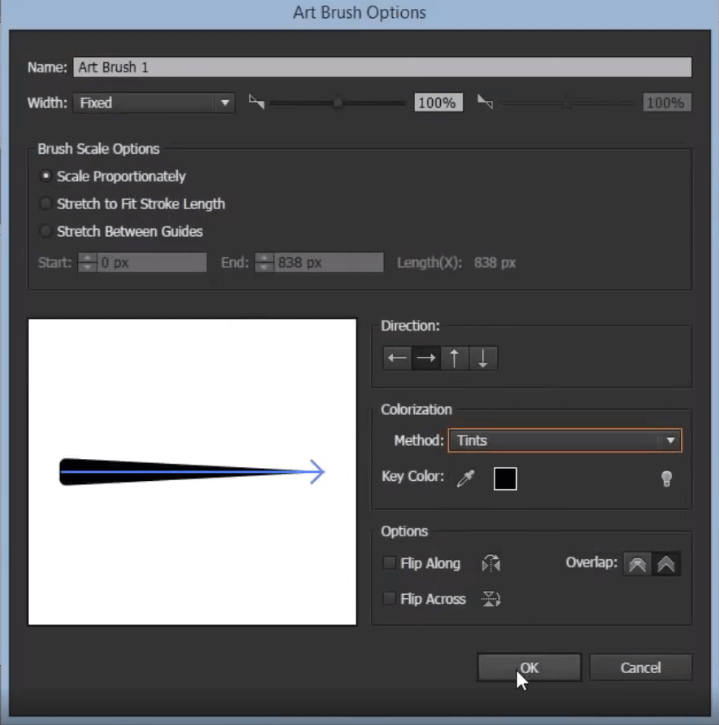
Step 5: In the Art brush options panel, Make the brush scale option set to Scale proportionally and Set the colourization method to Tints. Change various properties and adjust the width and add a name to the new brush.
Step 6: Use your brush tool to draw with the new art brush. change the property of the brush by double-clicking on the brush’s panel. Draw certain branches to the trunk.

Step 7: Add a new art brush for the leaves. To make a leaf art brush, start by drawing an ellipse, and sharpen the two edges using the convert the anchor point option(select the edges using the Direct Selection tool(A)).
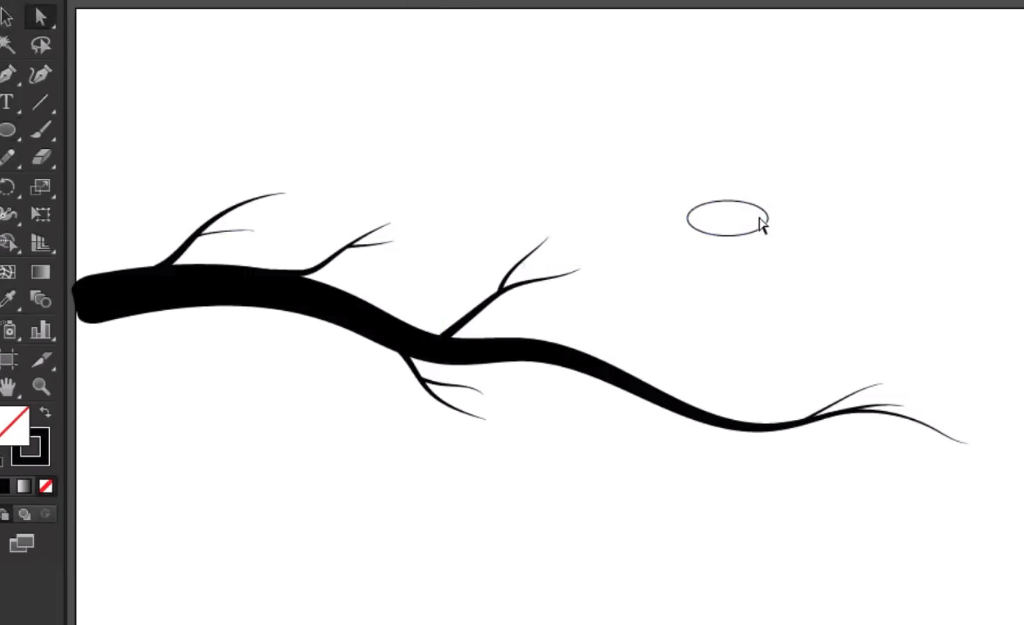
Step 8: Now adjust the vertex position by moving the edges using the arrow keys on the keyboard. Use the rectangle tool to make a stump. Hold the Alt key, click and drag to make a copy of it by clicking and dragging while pressing the Alt key.

Step 9: Add this to the brushes panel as a new art brush. Adjust the width and set the colourization method to tints & press OK.
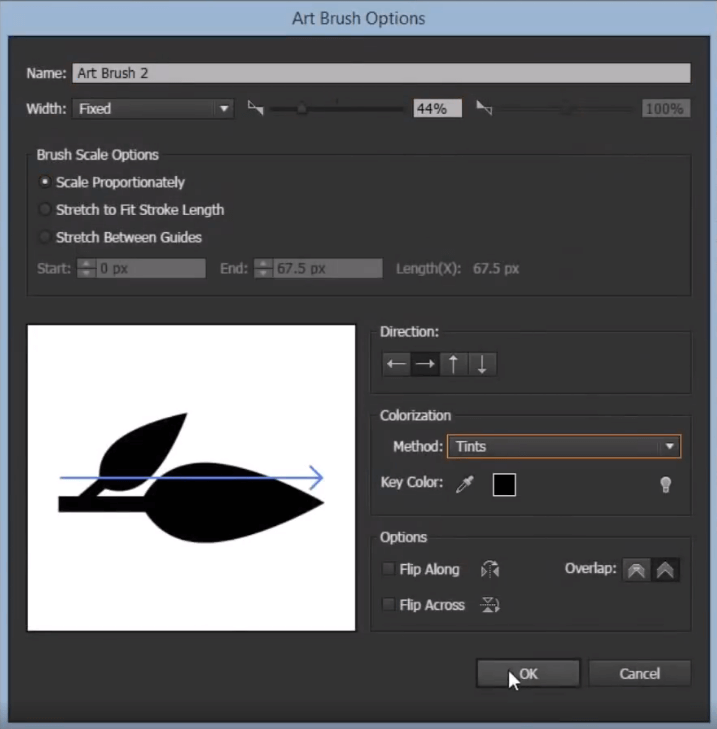
Step 10: Now draw on the trunks using the art brush to make them with leaves. select everything and expand it (Object > Expand appearance)

Step 11: Let us add some birds now. Create a basic silhouette using basic shapes. Make copies of it and reflect on it.
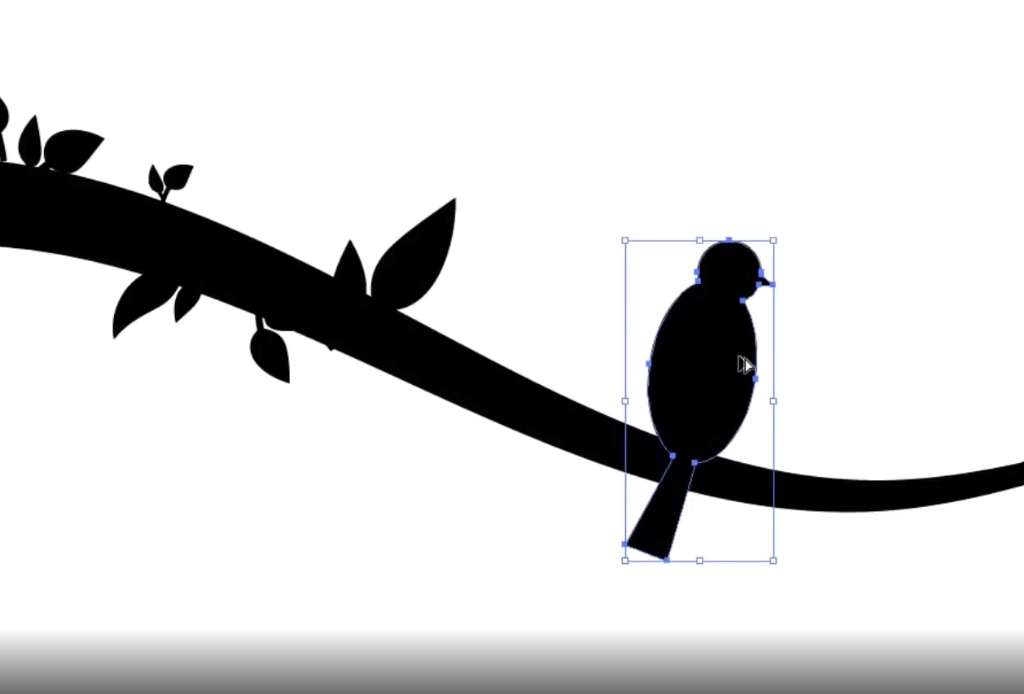
Step 12: Creating the night sky background
Let us add the background to our scene. Add a rectangle of the size of the artboard and give it a dark blue colour.
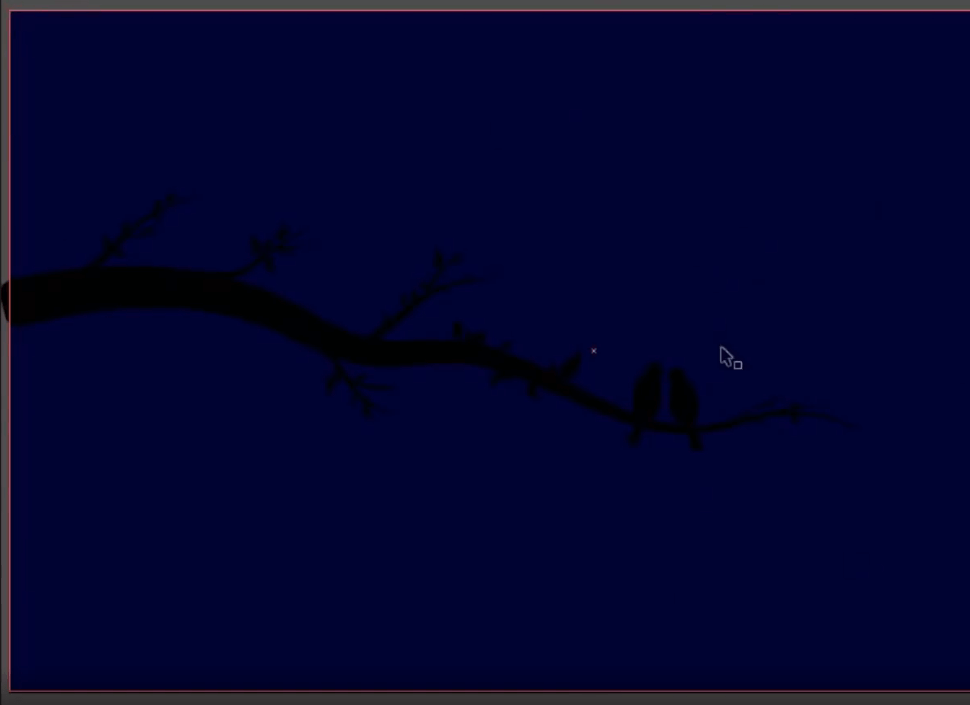
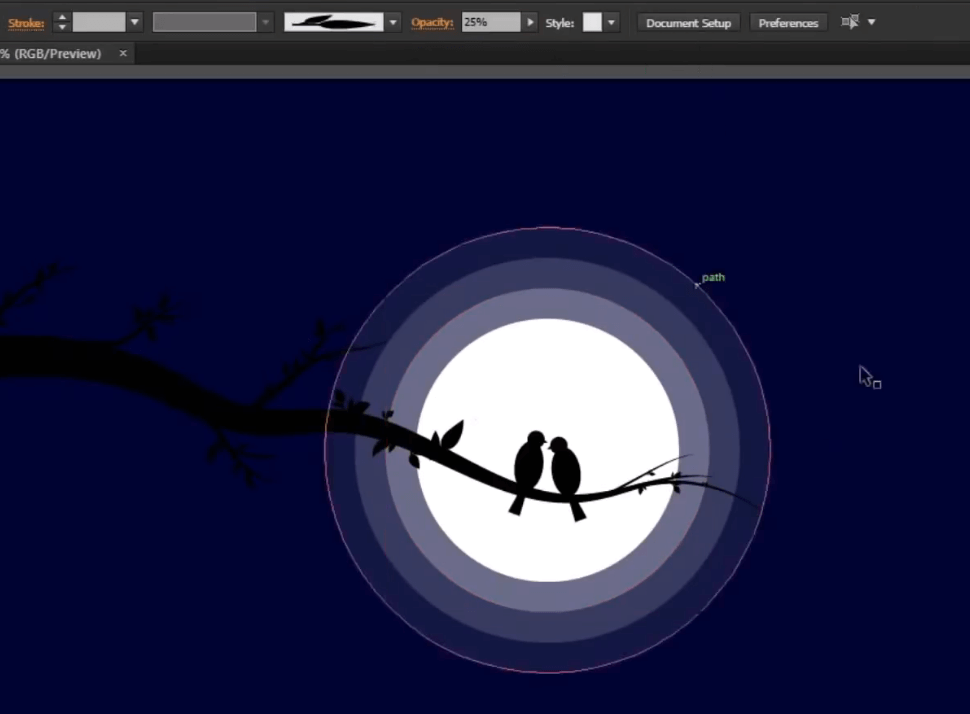
Step 13: For the moon, create a circle and fill it with white colour. Add some offsets to the circle. (Object > path > Offset path). In the dialogue box that pops up, Set the Offset to 25px, Join to miter and the Miter limit to 4. Click OK.
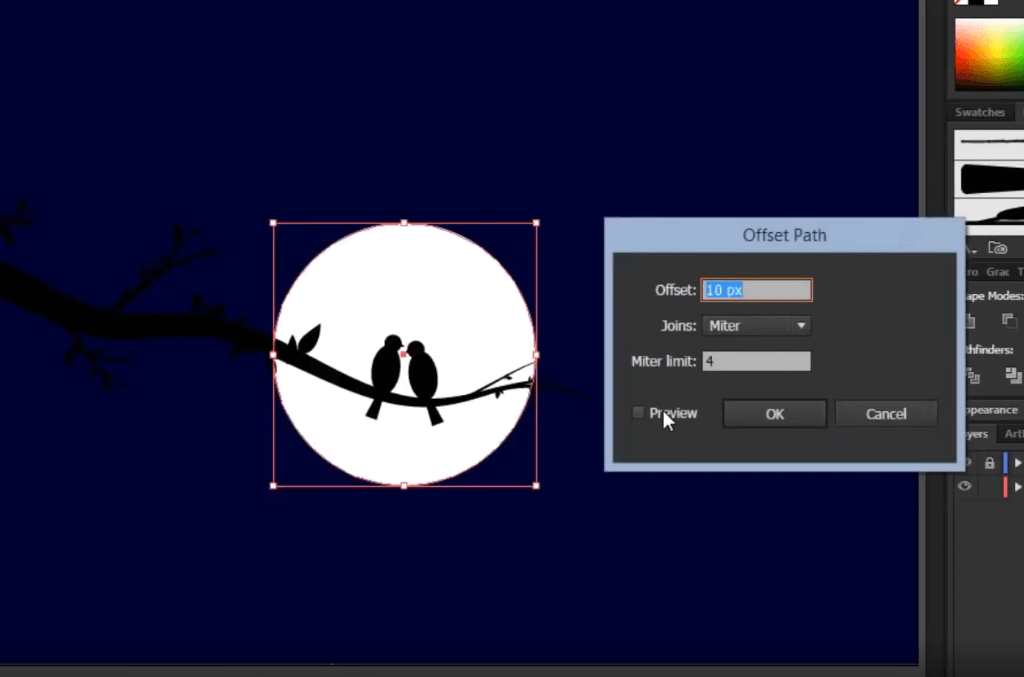
Step 14: Now repeat the same process a few times to add some more rings and adjust its opacity. Here we add Three different offsets of opacities 8%, 15% & 25%, from the outside.
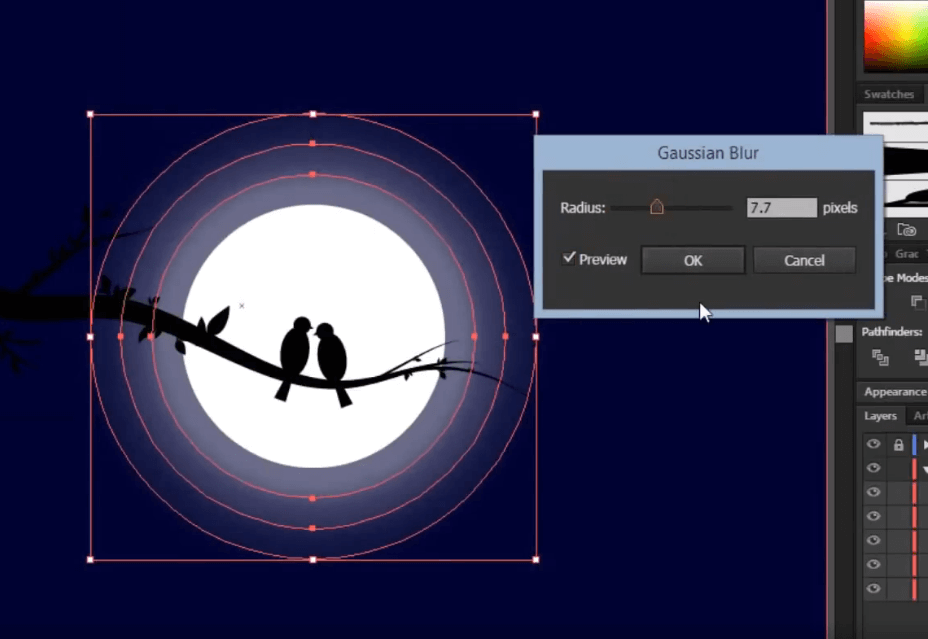
Step 15: Now Select all the offsets and apply Gaussian blur (Effect > Blur > Gaussian blur). Adjust the radius of the blur value to around 7.7 pixels and click OK.
Step 16: To add stars, we will be using the scatter brush. Create a 10 * 10 ellipse, add it as a new scatter brush and adjust the width.
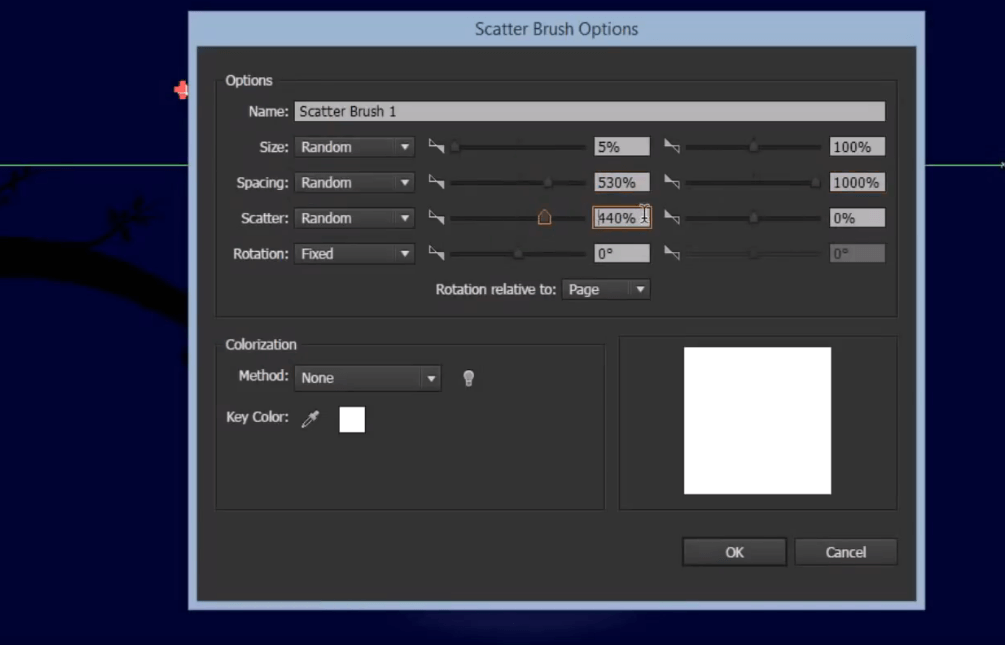
Step 17: Using the brush tool, draw random lines over the artboard using the new scatter brush. Select all and change the blend mode to Overlay in the transparency panel.
Add some clouds using the ellipse tool and reduce their opacity.
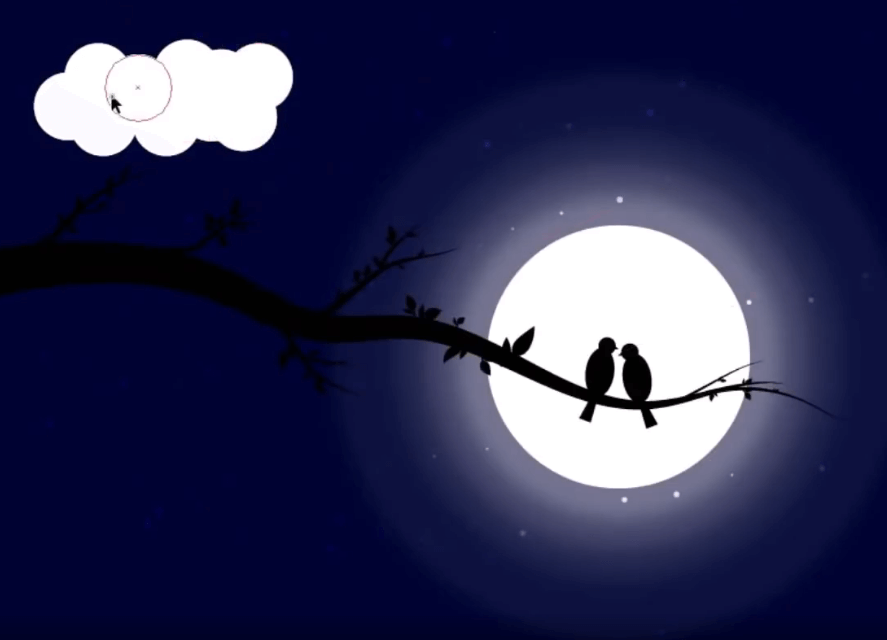
Step 18: To achieve the final result, Add a sky gradient background in radial mode, adjust to tweak the gradient use, gradient annotator.
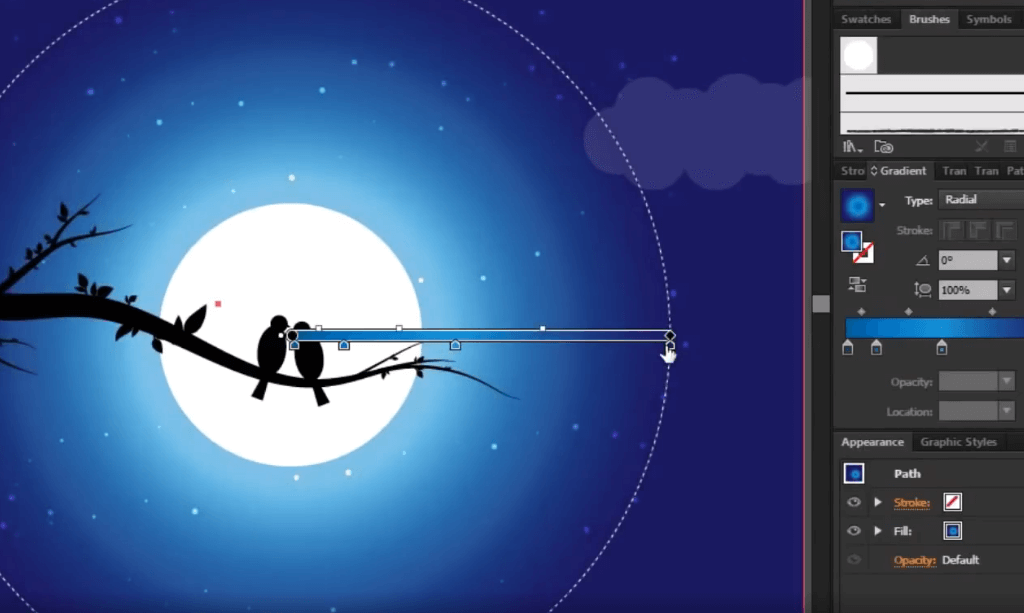
Step 19: Make a Rectangle of artboard size and bring it to the front. Now select all (Ctrl+A), Right-click > make a clipping mask(Ctrl +7) to cut everything outside the artboard.
The final result of the night sky vector illustration looks like this:


